Preparation is the key to a quality paint finish that will last for years
Painting, while it can be frustratingly laborious at times, seeing a component transformed into a like-new appearance is one of the most rewarding aspects of a restoration project. Whether you’re painting the entire body, a bare frame or numerous suspension components, the entire refinishing process of transforming a piece of bare metal steel into a reborn object of colorful brilliance is incredibly fulfilling.
Preparation is everything, and it is. The actual application of the color topcoat is simply the final step in the entire refinishing process. That is why prior to cranking up my air compressor and filling my spray gun with the appropriate paint, I always spent several days cleaning, stripping, sanding and taping the parts that I was planning to paint. That’s the key to quality paintwork: lots and lots of preparation.
Prior to starting the spraying process of epoxy primer on about 45 small parts for my 1960 Triumph TR3, I had already invested about 24 hours of labor carefully preparing these parts so the primer will not only adhere properly but will lay down nice and smooth. Those components consisted of suspension arms, brake and clutch master cylinder mounting brackets, brake and clutch pedals, steering linkage, radiator support brackets, distributor, body mounting washers and several other small brackets, clips, shims and fasteners. Although it didn’t seem like a lot of parts, why did it take so long to get so few parts ready for a coat of primer?
Well, if you want the best finish possible, and if you want that finish to last long without any possible chance of it peeling or bubbling, then you must make sure that the part to be painted is 100% free of all traces of rust and grease. And that’s the step that is so time consuming.
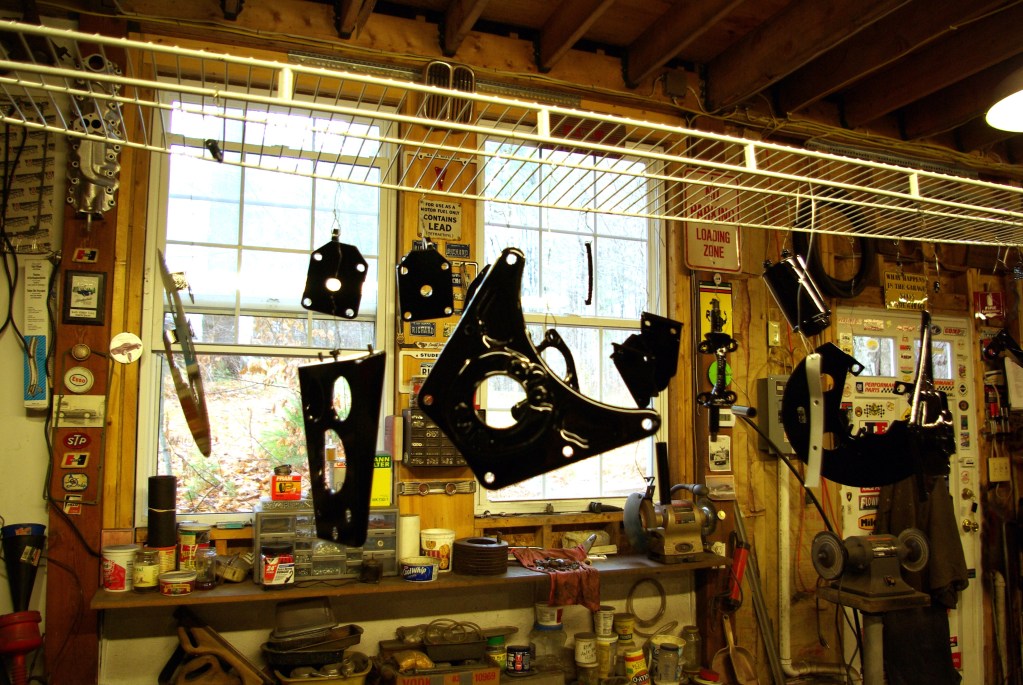
If the part to be stripped is relatively small, like a front suspension A-arm or alternator bracket, I prefer to rely on media blasting in lieu of paint stripper, as it’s a whole lot quicker and easier to get those parts down to bare, shiny metal. But I only do so after the part has been cleaned; this will ensure that all that caked-on grease and dirt doesn’t get blasted into the metal surface that may wreak havoc later on. If you don’t have access to a blasting cabinet, then a wire wheel is your next best option. It will not only strip the old finish off quickly and uniformly, but it removes every spec of rust that the wheel reaches and roughs up the metal surface that will make the primer adhere better, thus allowing you to accomplish three tasks in one. The only downside to using a wire wheel is that it doesn’t get into tight corners and crevices like media blasting does.
I use a large eight-inch wire wheel attached to the right side of my bench-mounted grinder, and protect myself thoroughly with goggles, gloves and a paint mask. At first, I didn’t think a paint mask was needed, but after a few minutes I found myself choking on the fine particles of the old paint and rust that were floating in the air; so, a mask is a must.
Once all the parts have had their old finish removed, I lay them out on my bench and begin the time-consuming task of the final cleaning stage. This is probably the single most important step in the entire paint preparation process as even the smallest spec of grease or dirt will prevent the primer from adhering itself to the part that’s being painted. I use Prep-Sol, a degreaser made by Dupont that is a specially formulated pre-sanding solvent cleaner for removing grease, wax and silicone prior to painting; all the other paint manufacturers have a similar product that works equally well.
To ensure proper treatment, I use two lint-free rags; one to apply the Prep-Sol, and a clean rag to wipe it off before its allowed to dry. It is a painstaking process as you must get into every nook and cranny of the component if you want to achieve maximum paint adhesion. Then I laid out all the degreased parts on a clean plastic tarp.
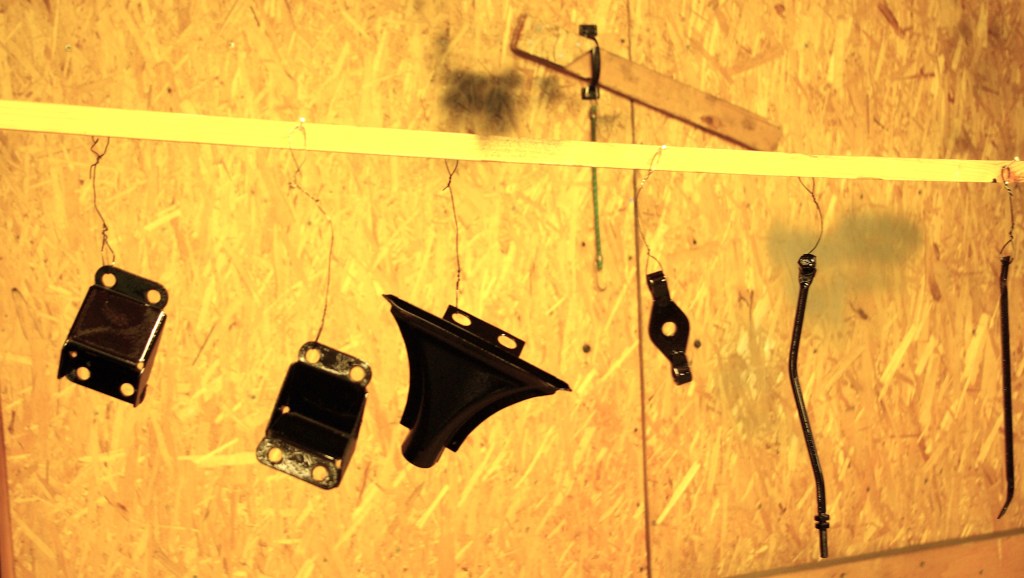
Because all the parts that I was about to paint were small and were to be painted on all sides, I needed a way to hang them so they would dry in a uniform manner. So, prior to painting, I took two 10-foot length pieces of 2×4 wood and hammered in nails six-inches apart along their entire length to which I would hang each part after it’s sprayed, then fixed the wood where it would allow the parts to hang without touching the floor. I then attached 18-inch-long strips of 20-gauge wire to each part from which to hang them.
Wearing plastic gloves to protect my hands from the epoxy primer, I held each part by the wire, then sprayed on the primer until each part was uniformly painted. Then each part was immediately hung up to dry.
That was the first time I had used my brand new HVLP spray gun, and I was amazed at not only the small amount of paint that was needed, but how little overspray filled my garage. Whenever I paint inside my garage, I always use a 30-inch square window fan covered with a full-size filter to exhaust the overspray outdoors, but thanks to the HVLP spray gun’s design there was almost no noticeable overspray filling the air in my garage.
Judging by their smooth finish, all the hours spent cleaning each part were clearly well worth the effort. Just remember, painting is 90% preparation.